How Should I Clean My Wireless Handheld Microphone?
Shure has received many requests for recommendations on the best ways to clean and disinfect our products. Please note that Shure cannot provide advice regarding what disinfectant methods are effective against the Covid-19 virus; any such question should be directed to appropriate disease control experts. The information on this site relates solely to general information for cleaning methods for microphones. Please note that the observations below do not imply any guarantee against damage to the product, but are based on the best information we have at this time.
Microphone Cleaning: Things to Avoid
To start off, let’s focus on the “don’ts.” It takes longer to test various substances to determine whether they cause damage over time than it does to determine the things we definitely know should be avoided. So while we continue our testing, here are a few general things to keep in mind:
How to Clean the Handle

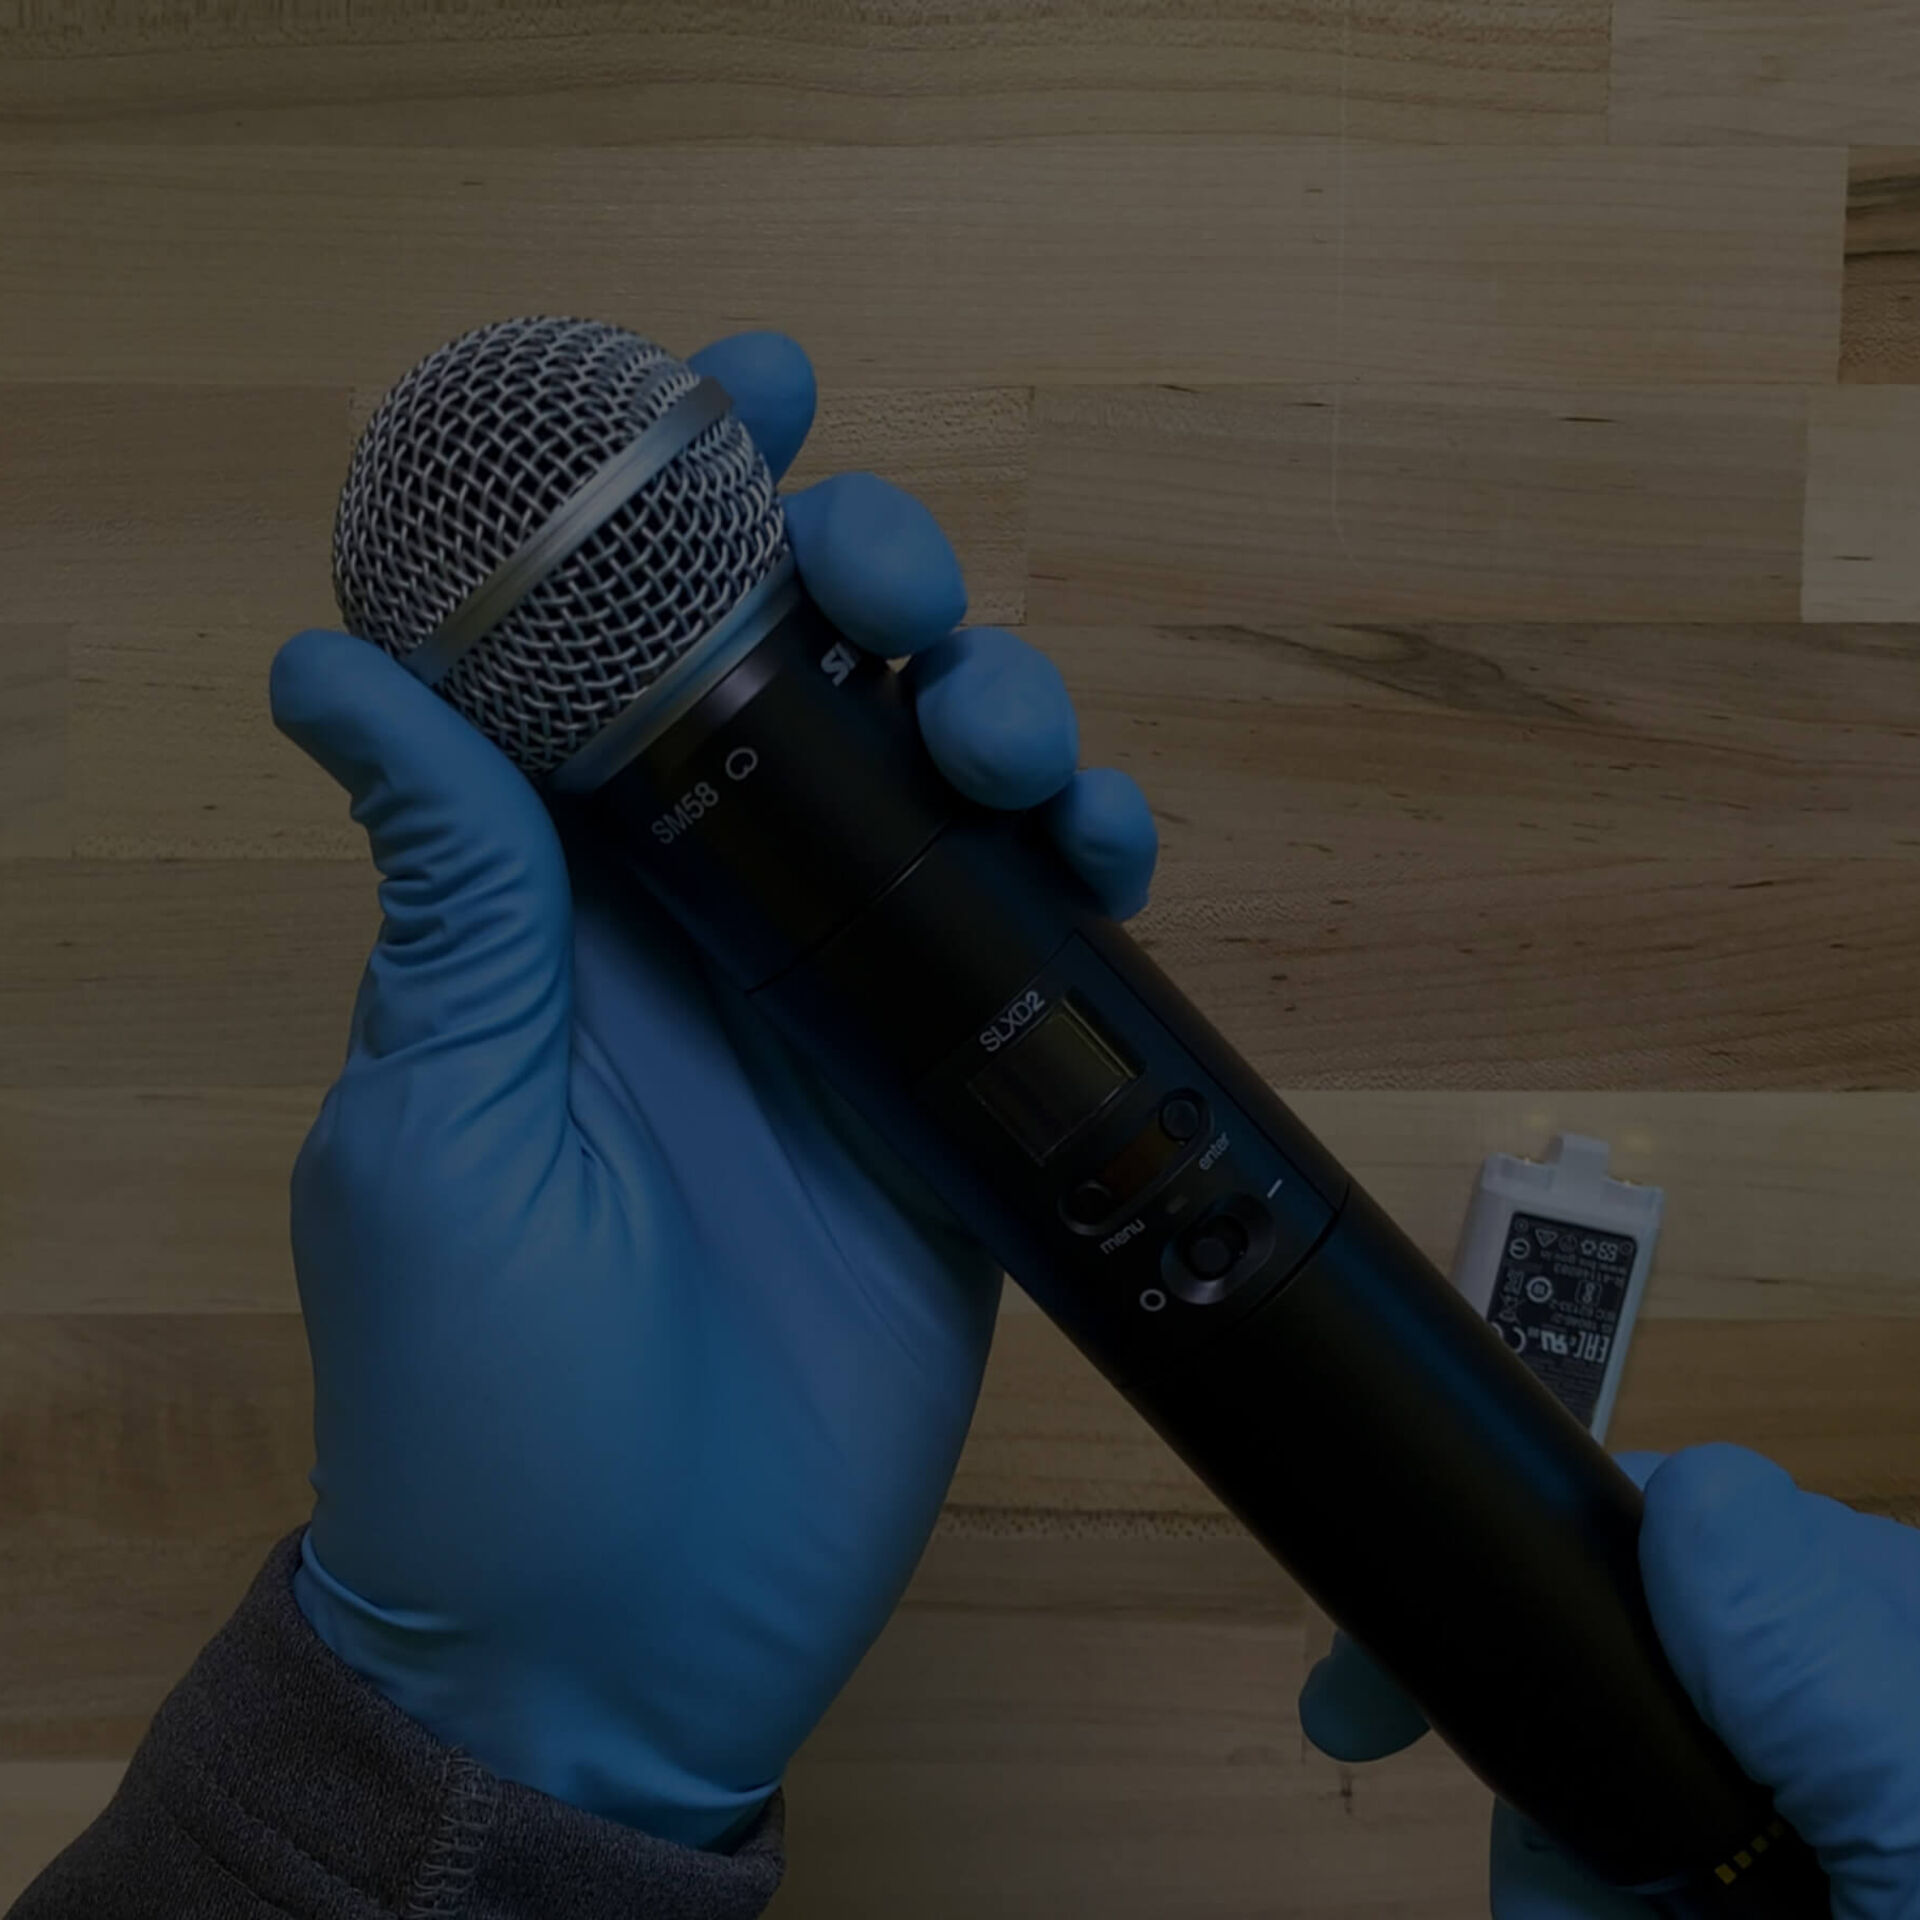
- Be sure to power down the transmitter and remove the battery before cleaning.
- Re-attach the battery cover onto the handle. This will help minimize the exposure of the battery contacts to cleaning agents and prevent corrosion.
- For now, leave the grille and windscreen on to protect the microphone element from accidental exposure to moisture and cleaning agents.
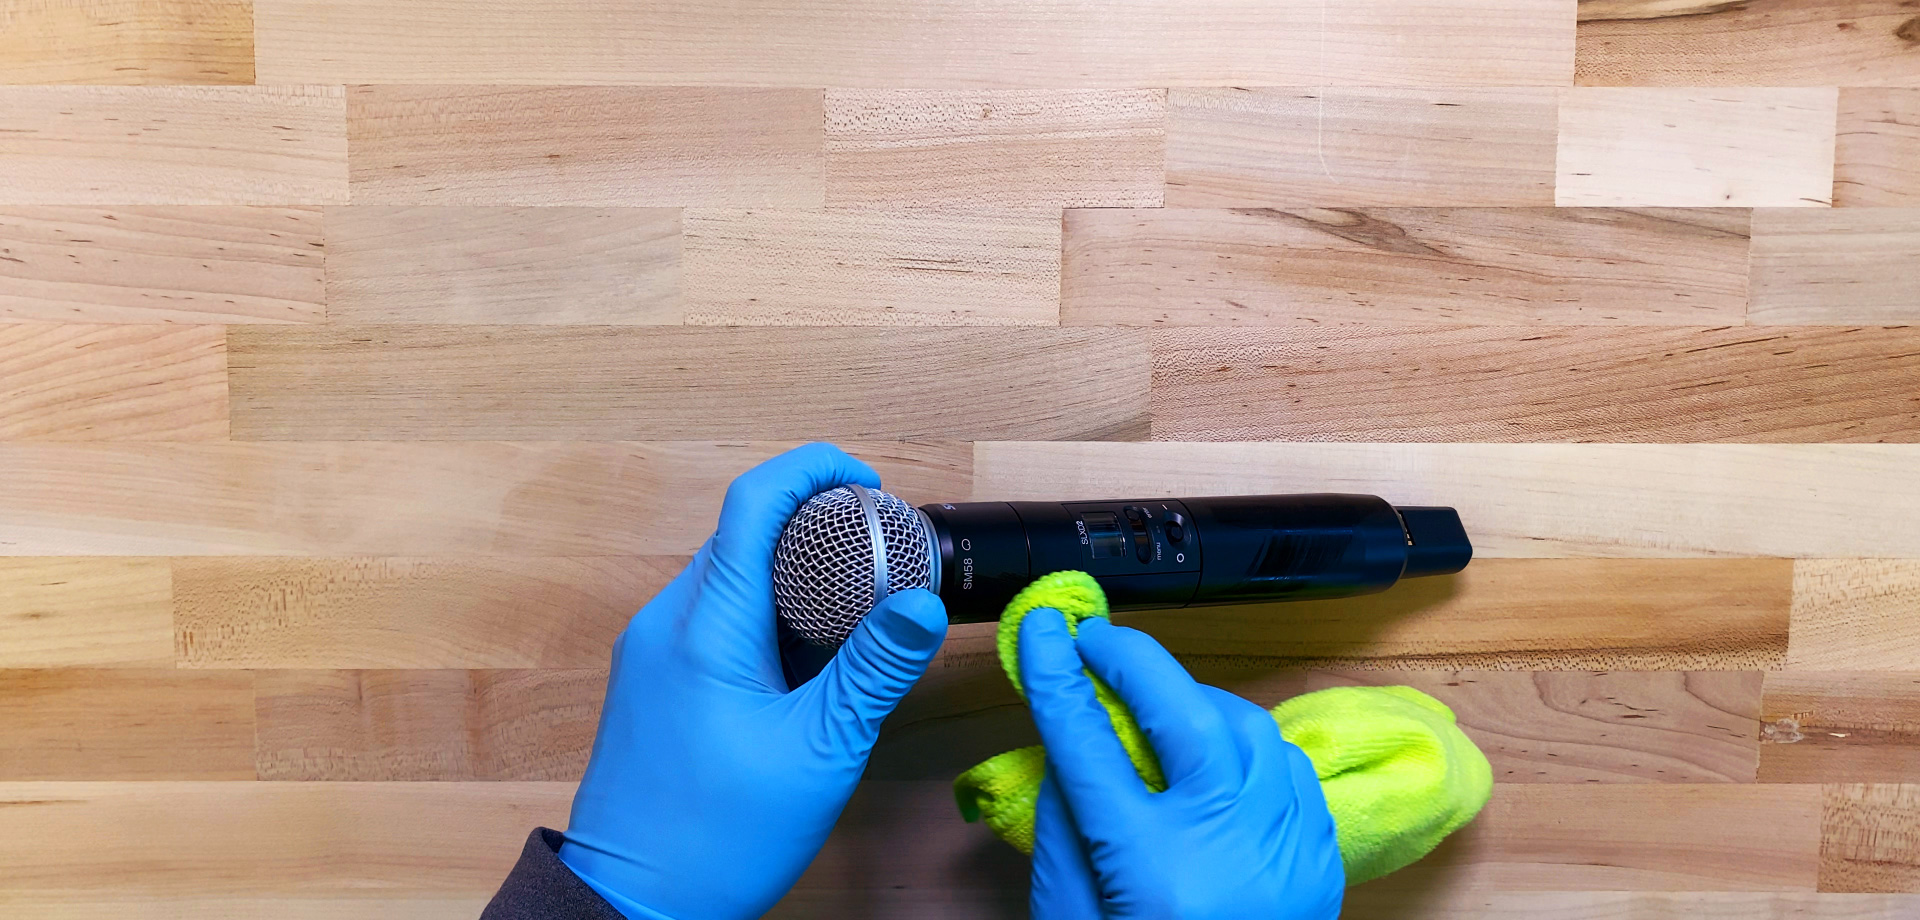
- Use only a soft cloth and a minimal amount of cleaner - do not saturate the product.
- We have tested the following cleaning agents:
- Mild soapy water (such as liquid dish soap), which is then removed with a clean, damp cloth.
- Clorox® Disinfecting Wipes
- Lysol® Disinfectant Spray
- NOTE: not recommended for nickel handhelds
- Isopropyl alcohol
- NOTE: may remove some of the paint from the handle and impact the aesthetics of the microphone. Though this should not affect the performance of the microphone, if this is important to you, test on an inconspicuous area first.
- When cleaning, avoid getting any moisture on the microphone element itself. Do not apply cleaning agents to the microphone capsule directly. If possible, hold the microphone upright so that any excess liquid will flow away from the microphone element.
- Avoid the display bezel, as well as any buttons, switches, or seams while cleaning.
- Once the cleaning of the external surface is complete, pat dry with a soft cloth.
- Unscrew the battery cover to remove and inspect the battery area for any damp spots, and pat dry. Set aside the sleeve to allow the battery compartment to dry fully.
- Unscrew the wireless capsule from the handle to inspect for and dry any damp areas.
- We do not recommend cleaning the inside of the battery compartment. In consideration of providing a clean microphone for others to use, consider washing hands or using gloves to access the battery compartment and insert batteries. Then wash hands before re-attaching the sleeve. This will result in a clean external surface for the talent.
- Be sure to allow the surface of the microphone to dry fully before use.
How to Clean the Grille

We recommend keeping an inventory of spares instead of cleaning the grille and windscreen whenever possible. If you have spares, there will always be a clean replacement ready to swap in while the other gets cleaned and dries out.
- Carefully unscrew the grille from the microphone.
- Remove the foam windscreen pop-filter inside the grille (note that the windscreen may be glued in place. If the pop filter does not come out with gentle pulling, we recommend cleaning the entire grille with the pop filter in place).
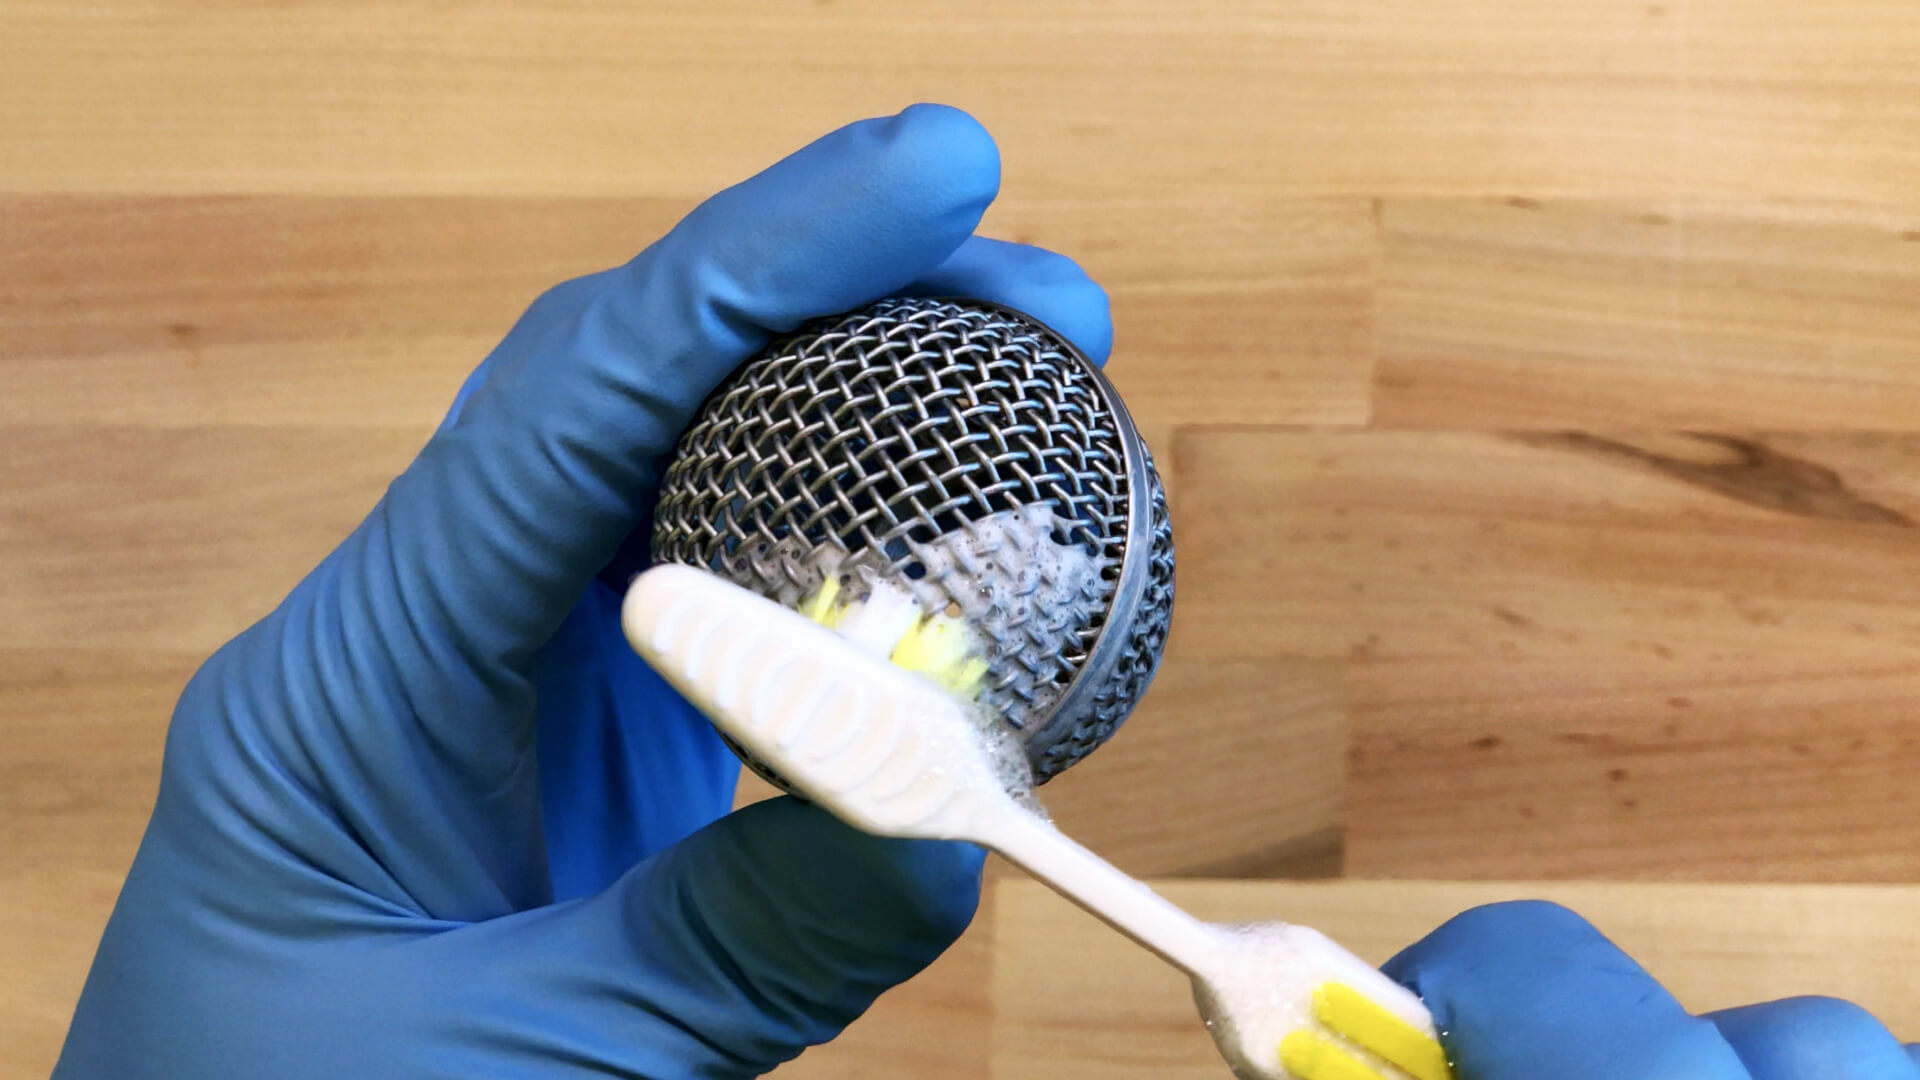
- Using a soft-bristled toothbrush, clean the grille with water or Isopropyl alcohol. If the internal pop filter is removable, the grille can alternatively be cleaned with mild soapy water. Suds tend to collect in the windscreen, which may affect the performance of the microphone, so this method is not recommended for filters that cannot be separated from the grille.
- Rinse the foam windscreen pop filter with water or Isopropyl alcohol only (NOTE: this applies only to removable foam windscreen pop filters inside the grille; see the next step for cleaning external windscreens.
- Only warm water or hydrogen peroxide should be used to clean external foam windscreens. Since they tend to act like a sponge, soap, or liquid detergents will be impossible to rinse fully. Isopropyl alcohol and Lysol disinfectant spray will cause color to leech from the windscreen. Clean replacements are the best solution!
- Remove excess water from the grille and windscreen and allow them to dry fully before reinstalling on the microphone
Note: If the microphone output seems low or quieter than normal, it’s possible the microphone element got wet and hasn’t fully dried yet. Unplug the microphone and allow it to dry out completely before using it.
Additional Cleaning Tips

Wired Microphone

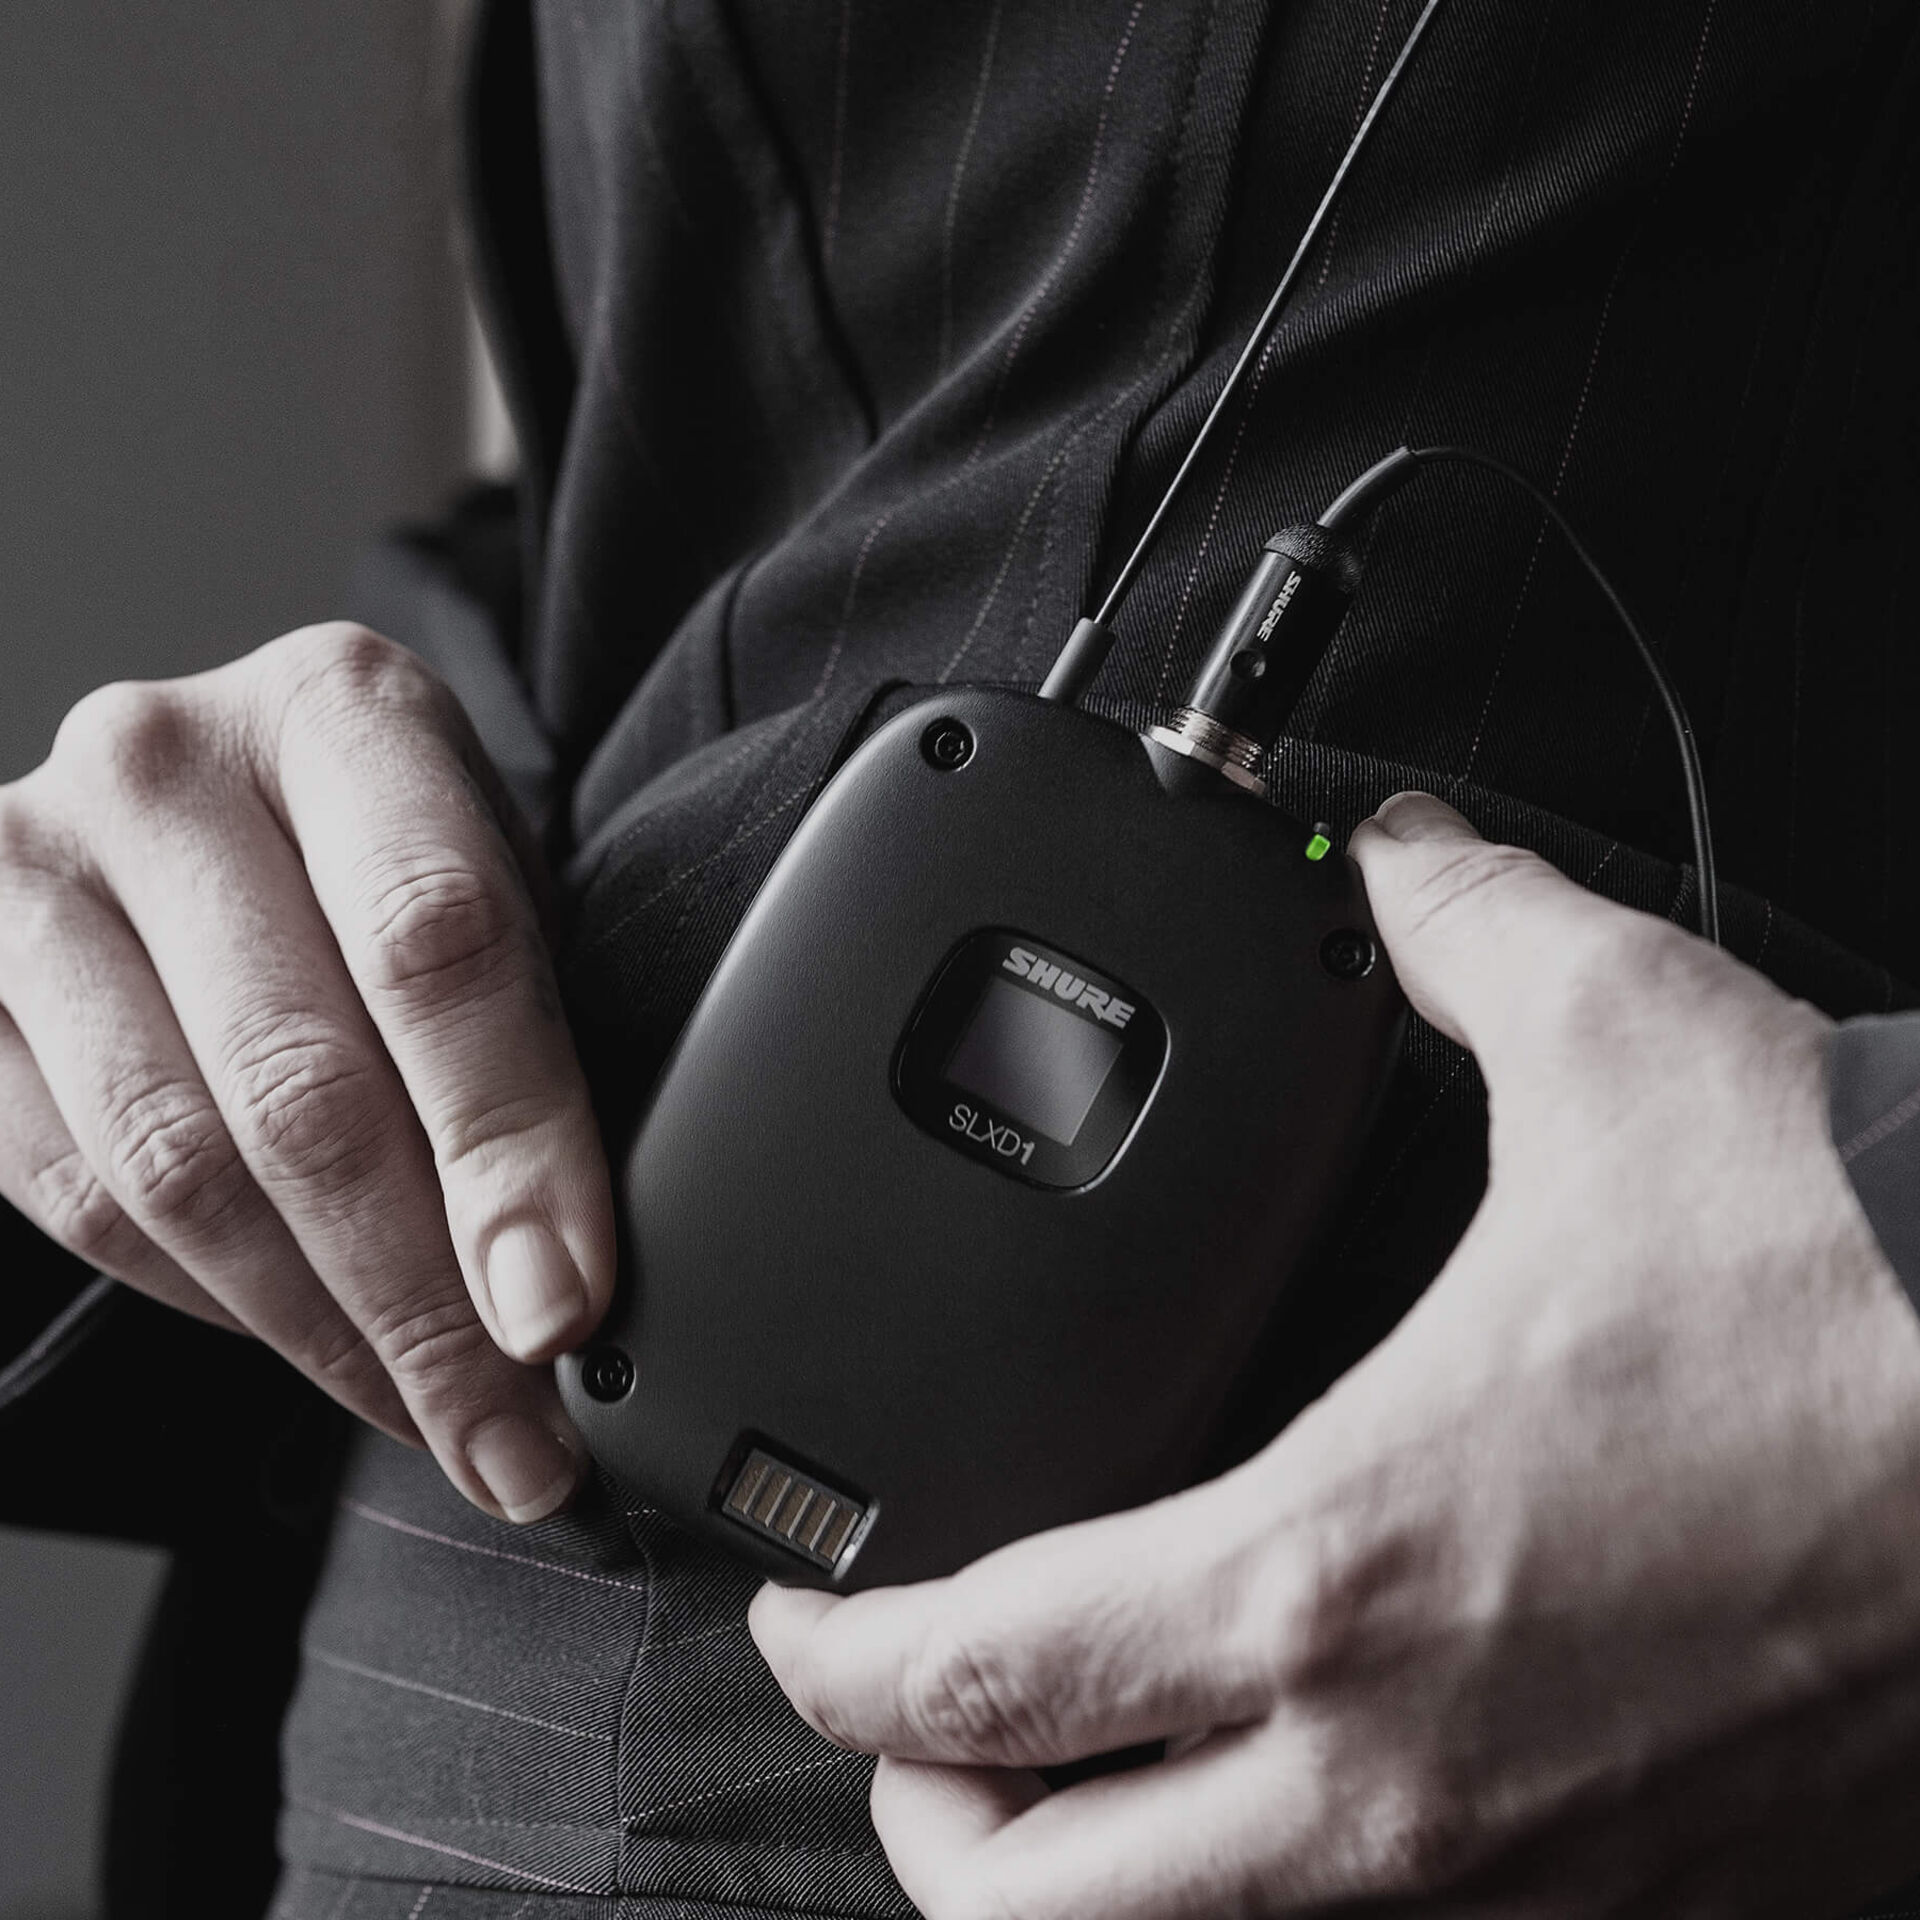
Wireless Bodypack, Lavalier, Headset

 No bleach cleaning products
 No Hydrogen Peroxide
 No abrasive cleaning tools (I.E. scrub brush, scouring pad)
 Do not saturate products with liquid
 No rubbing alcohol (Isopropyl Alcohol) on clear plastic parts
 Remove grille/windscreen for cleaning. Do not clean on element itself.